Basic Scuba Diving Skills Underwater Photographers Need to Know

Annie CrawleyA high shutter speed and ambient lighting were used to capture this mother humpback whale and her newborn calf in Tonga.
The excitement of getting scuba certified is undeniable. I can still remember as a new diver wanting to start taking underwater pictures to show my family and friends. Ultimately, it’s the strength of your diving skills that will allow you to capture experiences to share with others.
Epic beneath-the-sea shots are built on a foundation of solid skills and honed techniques that are reflected in the quality of the images themselves. Whether you shoot with a GoPro, compact camera or DSLR, these techniques will help you level up your diving game and bolster your ability to create amazing underwater images.
Master Zero Gravity
Achieving neutral buoyancy in a watery world can be challenging enough without adding a camera into the mix, but it is an essential skill to master if you want to capture what you see. If you find yourself sculling with your arms to stay off the bottom, that is an indication that you are not neutrally buoyant. Remember that your hands will be occupied with your camera, so you need to be comfortable adjusting movements with your fins.
Mastering hovering and becoming aware of how your body moves underwater are essential skills for underwater photography. Take the Peak Performance Buoyancy specialty, and bring your camera along to prepare for the new challenge. Remember that when it comes to neutral buoyancy with a camera in hand, patience, persistence and perseverance are key.
Slow It Down
Your breathing technique affects how your body moves in the water. If you breathe slowly, you will naturally maneuver slowly. If you race around, you’ll become a bubble-blowing monster and marine life will scatter.
Even just a couple pounds of excess weight can make you lose control of your buoyancy and cause you to suck your air as you fight to move.
Perform a buoyancy check at the end of the dive to fine tune your buoyancy when your tank is empty. Strip off as much weight as possible. Whether you are diving in a drysuit or wetsuit, use just enough weight to stay down for your safety stop.
Pro Tip - Always carry a snorkel on your dives. Many divers opt out of a snorkel. I’ve learned that at the end of every dive, magic can happen just after you’ve boarded the boat! Dolphins, mantas or even whales can swim by, and many divers miss a fabulous shooting opportunity because they didn’t have a snorkel!
Find The Right Fins
Just like you wear different shoes for different occasions, the fins you choose should reflect different shooting locations and styles. Not all fins are created equal. Consult your local dive center, and experiment with different fins in a pool. You should be able to turn right or left and move up or down just by rotating your hips and ankles. Everyone’s body is different, so devote some time to finding the right fins for your body type.
Develop finning techniques to effectively and efficiently push and pull water while kicking. Swimming backward is harder than it sounds, yet it’s necessary when shooting schools of fish, mantas, sharks, whales or other divers. Predicting animal travel patterns will help you effortlessly move to capture them in their environment.
Don't Forget Your Buddy

Annie CrawleyFreedivers glide through Swallows Cave in Tonga, a prime photo destination with dramatic lighting and dreamy underwater structures.
When teaching Digital Underwater Photographer classes, I emphasize diver safety and encourage buddy teams to start with only one camera operator at a time. If both buddies want to shoot underwater, hire a dive professional to lead your dive. It can be easy to lose yourself when creating underwater images, and having a buddy to remind you to check your air, depth and time is crucial.
Create a dive plan that both buddies can agree to. Review underwater hand signals, and carry a slate for communication. Always prioritize the safety of yourself and your buddy above any picture.
To reduce underwater stress and anxiety, get familiar with your camera and housing on land and in a pool before heading into open water. Experienced underwater photographers may choose to become self-reliant divers to explore more safely with their cameras.
Get Acquainted
Once you’ve figured out your camera system, buoyancy and different finning techniques with your buddy, the last step to a successful underwater photography session is knowing your subjects. Take time to research where you will be diving and the animals you will be photographing.
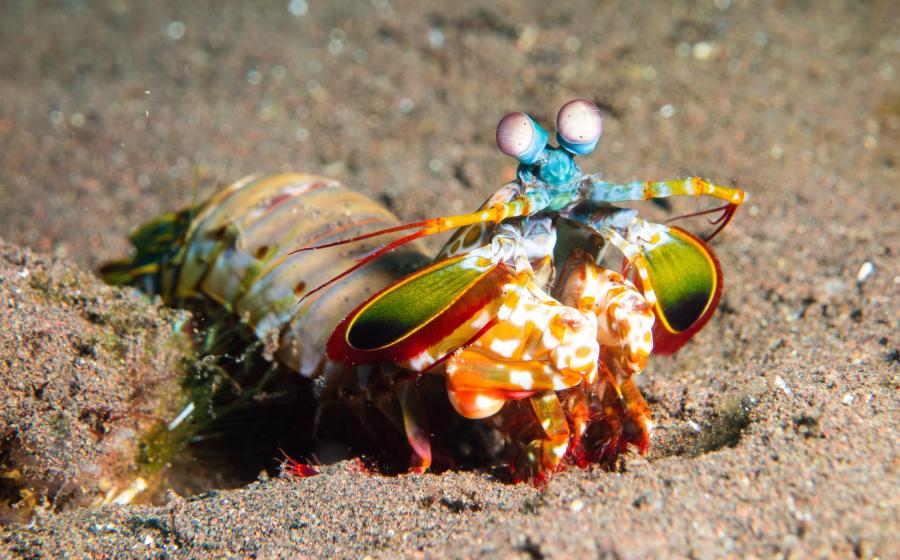
Look at other photographers’ work, read behind-the-scenes stories, and plan out what you want to shoot. Pay particular attention to the substrate you will encounter. You may be on a sandy bottom, rocky or coral reef, or shooting pelagic animals in currents that require a reef hook, DSMB, or other special dive equipment. Whether you want to photograph mantis shrimps with eggs, green sea turtles, sea lions or frogfish, knowing the behavior of the animals—including what they eat and how they mate—will help you know what to expect. You want to anticipate animal behavior while being prepared for the unexpected golden-nugget experience.
Underwater photography is accessible to anyone with a camera. Form a film crew with your buddies, and get friends involved as models and teammates. I turn my buddies into critter finders, lighting assistants and second camera operators!
When shooting video, if you have two camera angles of the same scene, you can produce and edit the unbelievable. As underwater explorers, digital imaging allows us to share our underwater world with all. Remember, you don’t have to be great to get started, but you do have to get started to be great.

